Nesting Explained
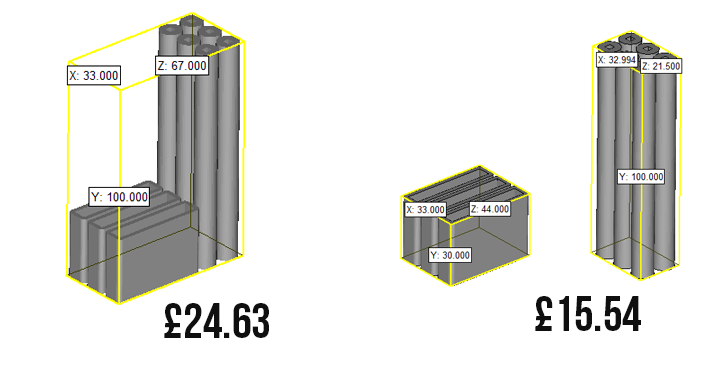
Nesting is unique to us as a way of saving money. With other companies the more densely you pack your file the more expensive it is at the checkout. Not with us. Nesting is most beneficial when you have a part that has a lot of excess space inside the bounding box it takes up.
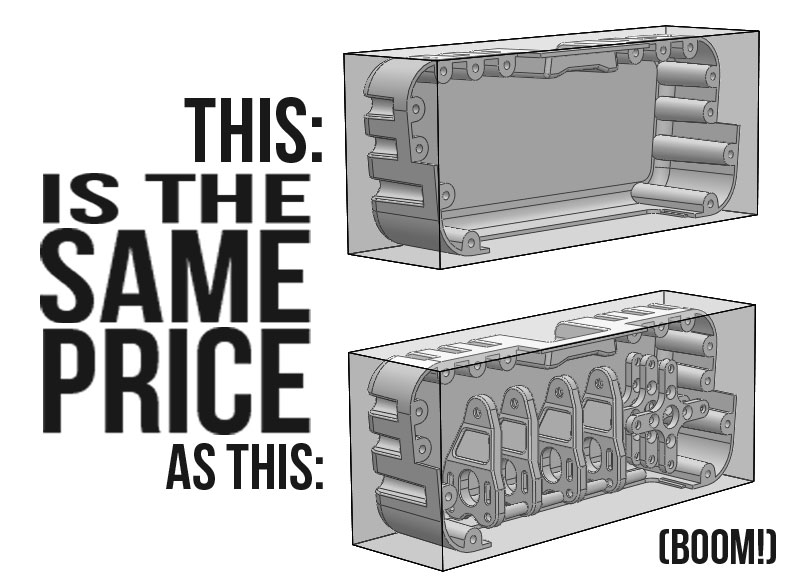
Adding parts into the excess space means that they are effectively free, as they do not add to the original dimensions – there is a minimum part cost per item on the STL, but this is an average, and not an additional cost, so only affects parts with lots of small parts. You can bypass this by spruing them together – see the guide for this below.
When nesting there are certain rules that do apply:
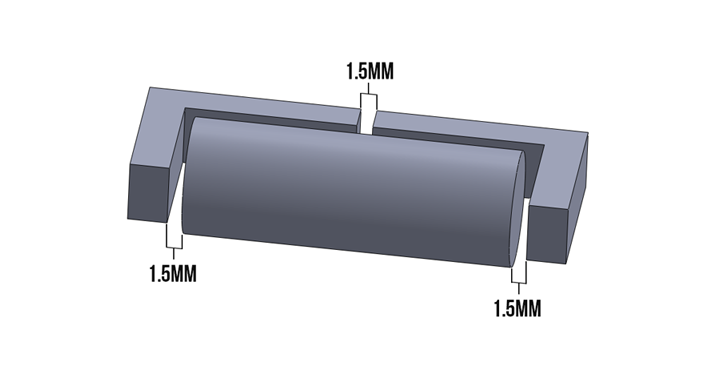
Your parts should have a 1.5 mm gap between surfaces – this is to avoid any fusing with your other parts.
Double,Triple, Quadriple check that no parts are overlapping or intersecting as these WILL print fused!
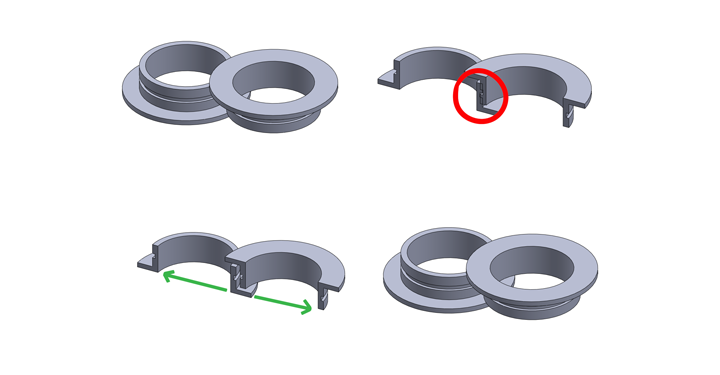
You can nest ANYWHERE in 3D space – they do not have to be on the same plane – remember that this is SLS, not FDM.
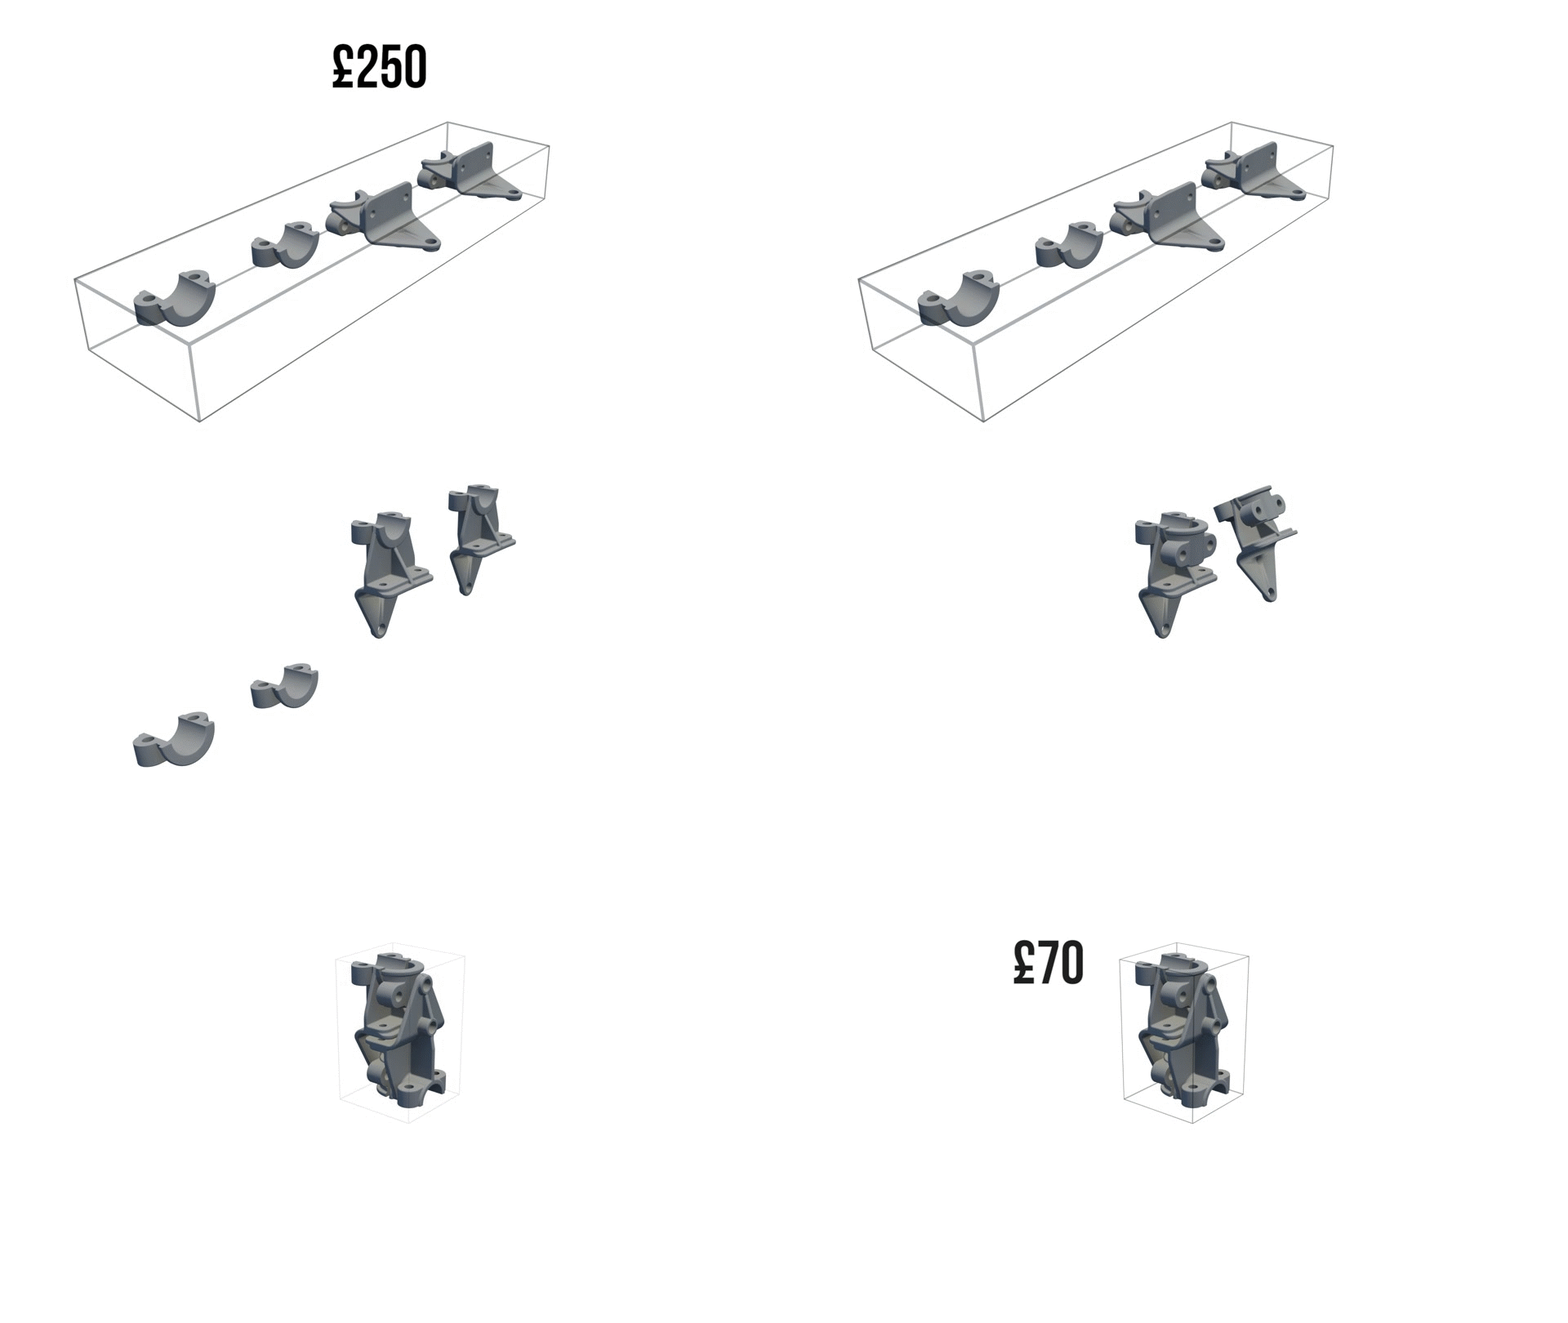
You DON’T HAVE to nest parts, they might be as economical as they can be – especially cube or cylindrical shapes.
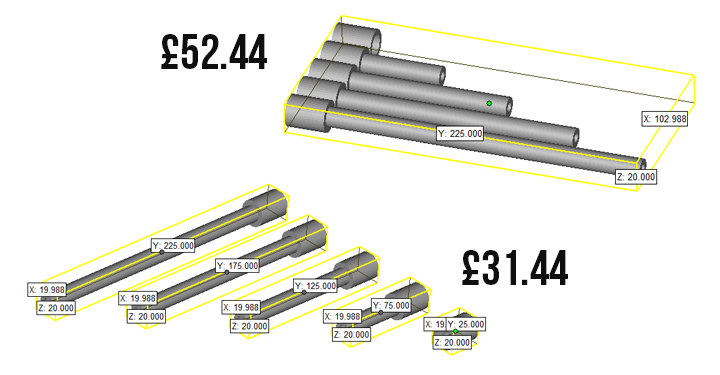
You DON’T HAVE to put all files in the same nest – sometimes it it more economical so split the parts into a number of nests, especially if you has some long thin items and some stubbier items mixed.
