Post Processing in 3D Printing (Part 3): Customised Services we do Not Offer at 3DPRINTUK
Nick Allen, Managing Director, 3DPRINTUK
In the final article in this series on post processing, I just want to take the time to round up with some post processing options that are available for 3D printed parts that we do NOT offer here at 3DPRINTUK. In the previous article (Part 2), we focused on automated post processing solutions that support higher volumes of 3D printed parts and reducing the cost per part with quality finishes. That said, sometimes high volumes are not the prerequisite and a more customised approach is required.
Bespoke finishing options for single or very small volumes of parts do not fit within our remit, but for clients that want our price / quality for the production of their parts there are specialised and bespoke post processing solutions available to them. The following is not an exhaustive list, but I think it covers the most popular bespoke post processes, namely painting, hydrographics, texturing, CNC milling / machining, electroplating.
Painting
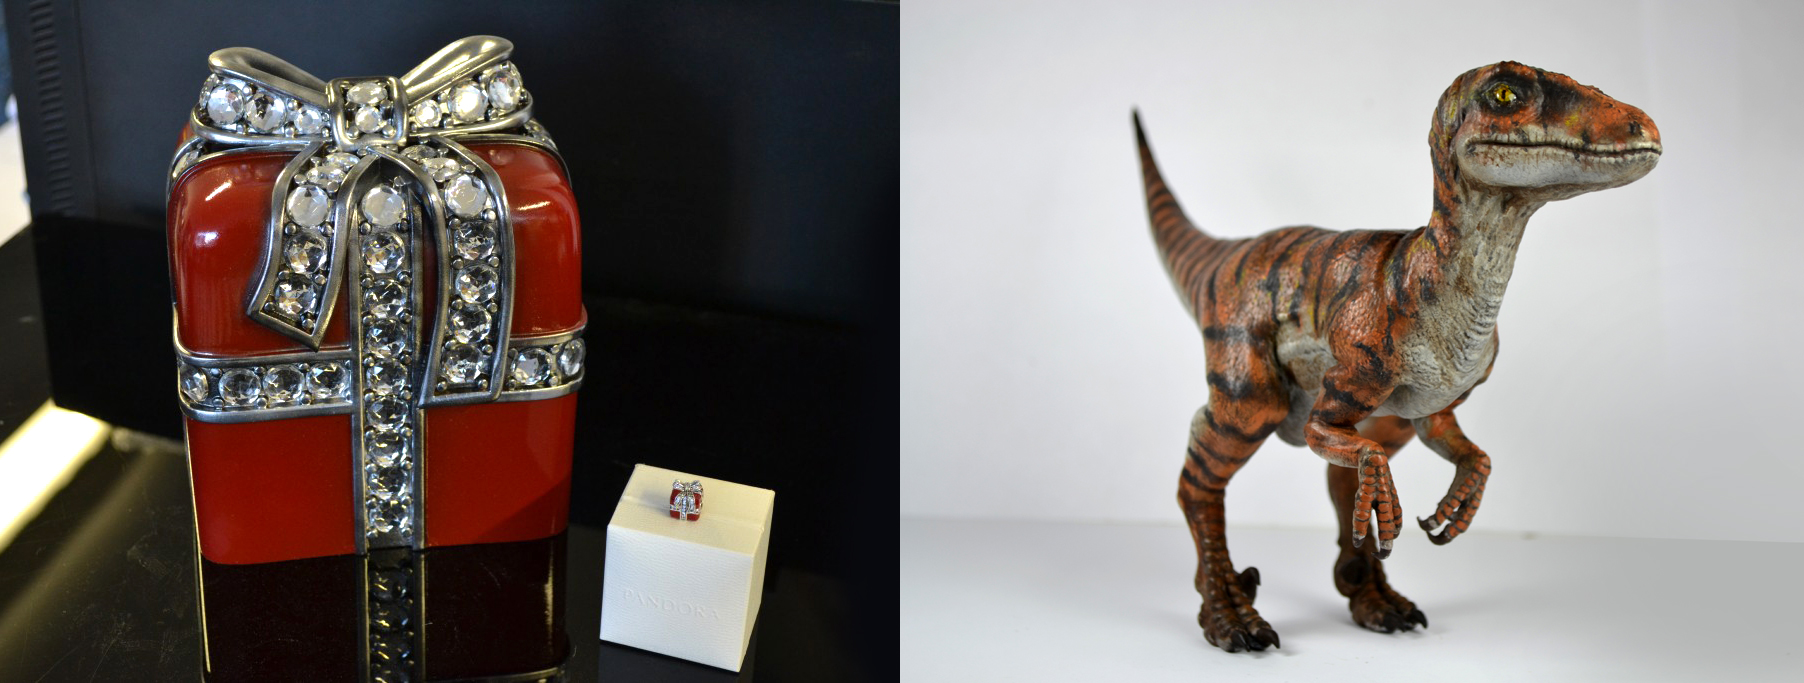
As bespoke finishes go, painting a 3D printed part can provide a very accurate, almost “photo-realistic” finish. This is particularly important for marketing prototypes and small volume — or singular — artistic models.
There is no getting away from the fact that the results can be absolutely astonishing, but the trade-off here is that a finish of this levels requires a great deal of time and effort per-part (not to mention mess and technical skill), whereby the outcome is more relevant than the cost-per-part economics of mid- to high-volume production.
Whichever 3D printing process you select to produce parts for painting they will require post processing to achieve the smoothest possible surface finish. This can include filling, sanding and priming the part. This is generally to remove support materials and /or refine the surface finish to smooth it and/or eliminate any defects present on the surface of the part.
If you are using a filler material, some fillers do not set completely and can affect the paint.
Another thing to bear in mind, is sanding a 3D printed part by hand removes material unequally from the part, which means that the dimensional accuracy of the part can be affected. Wearing a mask is also highly recommended for sanding.
Then there is the question of DIY or contract out the paint finish? The application and the required outcome will be the determining factor here. For example, for an art installation versus an architectural model.
For DIY painting finishes, paint selection is important, specifically choosing a high-quality acrylic paint, which can be used with a choice of brush, airbrush or spray paint. There are lots of Youtube videos out there for beginners.
Alternatively, there are a range of professional services that utilise highly skilled model makers, of which there are a good number that are familiar with the specific finishing requirements for 3D printed parts. For this, you generally need to build in extra time for delivery.
Hydrographics
Also called hydro dipping or immersion printing, as its name suggests, this is a water-based surface printing technique for 3D objects that has been developed over centuries. It can be applied to 3D printed parts to produce stunning customised finishes on parts and models. It’s a bit messy and difficult to achieve standardized finishes on multiple models, but hydrographics is not really about standardisation.
Any 3D printed part will need to go through the same post processing stages as for painting as outlined above to achieve the smoothest surface finish possible, plus primer. As with painting, the quality of the surface finish will determine the quality of the hydrographics, so a great deal of sanding and/or smoothing by other means is required to eliminate any supports, layer lines or rough surface. Subsequently the part is dipped in a tank of water that contains the hydrographic design using speciality inks, controlled water temperature and the application of an “activator” chemical.
The results can be stunning, but again there is a time and mess trade-off.
Texturing
This is a bit of a weird one — whereby textures *can* be added to 3D printed parts as a post process. But the question must be asked does it need to be done this way or can you design the required texture into the part and print it? One of the greatest advantages of 3D printing is that you can design this sort of complex detail into a part with little to no economic difference in the cost of the part.

This is particularly relevant for functional textures of parts that are required for added strength, or grip, or traction etc. If the rationale is the aesthetic, again, is it possible to include in the design. For fine details and tolerances, however, sometimes the best outcome can be to apply it post build via etching, routing, or grinding methods, but these processes do add time and cost.
CNC Milling / Machining
This is generally a post process used for metal parts (note it can also be an alternative production method for metal parts). However, it is also possible to utilise it as a post process for polymer parts to achieve specific goals. It is not a particularly cost-effective method for finishing high volumes of parts, but can be useful for critical applications that require precise accuracy.
Combining 3D printing and CNC machining can provide a reliable and repeatable method for achieving tight tolerances for critical specifications, for example for aerospace or medical components. For example, if a completely flat, surface to surface connection is required.
Services are available for both 3- and 5-axis machining of 3D printed parts. Part complexity and the finish requirements generally tend to dictate which process is required.
One important note for this approach is to build in excess material on the 3D printed part to accommodate machining down to the exact tolerances, particularly if fine features or thin walls are involved. The downside to this is additional waste material, but it is not that much different to sanding.
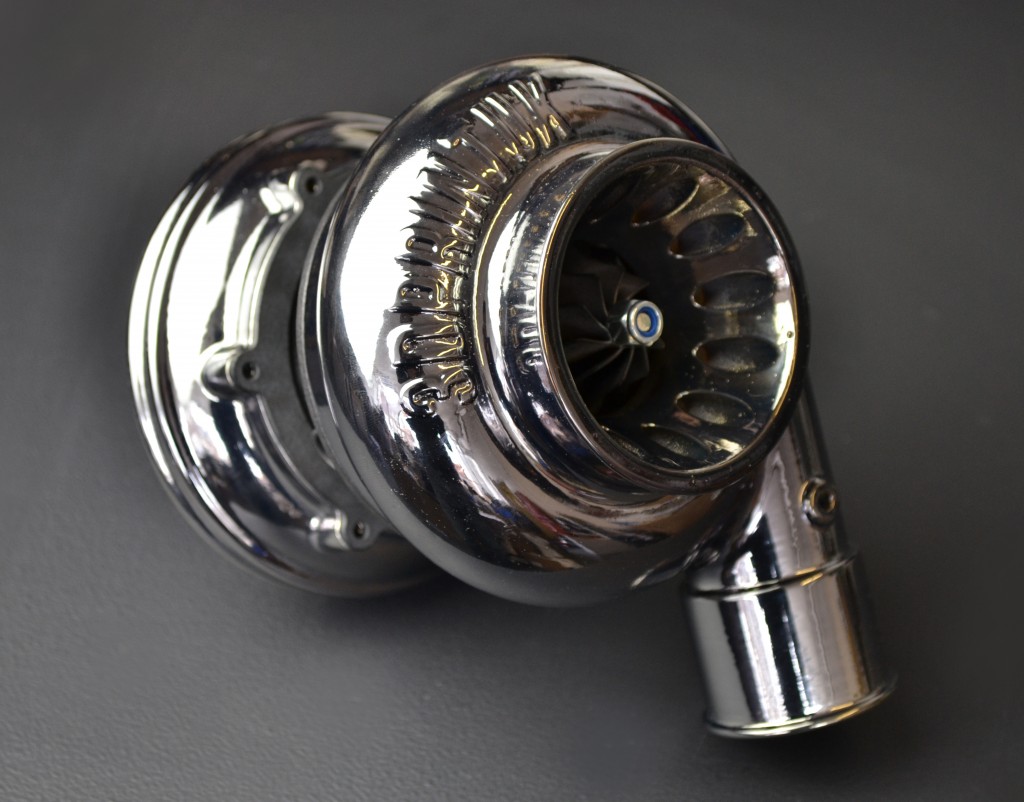
Electroplating / Metal Plating
This is a particularly useful finish for 3D printed polymer parts. It is a relatively complex process and requires specialist equipment and skills. However, there are a number of service providers now that have dedicated facilities to provide this solution. Most polymer materials can now be electroplated, but you should discuss material selection directly with the solution provider.
Electroplating offers a realistic metal finish that can provide the benefits of both plastic and metal including added strength and reduced weight. In addition, electroplating protects polymer parts against corrosion, improves electrical conductivity and reduces friction. The aesthetic finish is generally excellent. An alternative solution to full electroplating to achieve the look of metal is metallic spraying. Again, this can be achieved by specialist companies, with an example below.
Round Up
To round up this series of articles on post processing, it seemed fitting to provide insight into alternative solutions that are available for a more customised approach to 3D printed parts — even though that’s not our thing. The over-arching aim of the series has been to provide 3D printing users, whether in-house or contracted out, with a comprehensive resource when it comes to post processing, the pro’s and cons and the options available.
As ever, the choice will come down to the application and the dominant requirements to fulfil it in the most time- and cost-effective way.
If you want to discuss any post processing requirements for medium and higher volumes of parts, reach out to our technical customer service team today.